Before you switch anything on
Confirm the rod matches the sheet. Same resin family, compatible grade. HDPE rod on HDPE liner, LLDPE rod on LLDPE liner, PP rod only on polypropylene. This one check prevents the most damaging failure in extrusion welding.
Prepare the surface. Grind or abrade the weld area to remove the oxidised skin, keeping the cut shallow, no more than about ten percent of sheet thickness. Clean off all dust. Weld the same day it is prepared, because oxidation begins immediately.
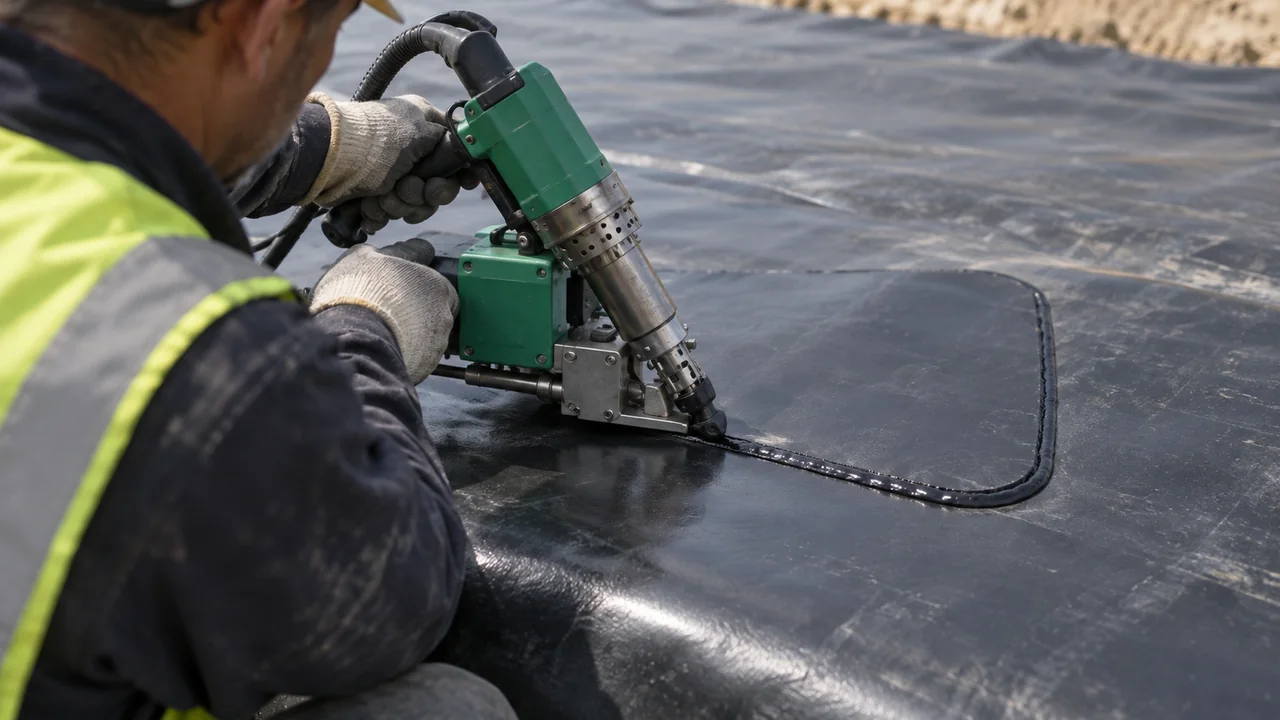
Check the geometry. Patches get rounded corners, never square ones, because a square corner concentrates stress and is where a patch starts to lift.
Bringing the machine up
Set extrudate temperature for the resin. On the IZ-620 the welding range is 220°C to 350°C, and for HDPE you will usually sit near the bottom of it. Set preheat air to suit the sheet and your travel speed. Let the barrel reach temperature before feeding rod. Starting a cold machine under load stalls it and can damage the drive.
Purge before you weld. The first material out of the barrel has been sitting and is not representative. Extrude a short length onto scrap until the flow is clean, even and consistent in colour.
Laying the bead
The preheat nozzle leads, the shoe follows. The air stream has to actually soften the parent material before the extrudate reaches it, which means the nozzle is directed at the joint just ahead of where the bead lands, not at the bead itself.
Travel speed is governed by output rate. Move faster than the machine can deposit and the bead is starved and thin. Move slower and material piles up. The correct pace produces a bead of even width and height with a small consistent flow line along both edges where the extrudate has wet into the parent sheet.
Keep the shoe in full contact and at a constant angle. Lifting or rocking it changes the bead profile and can leave the edge unfused.
Stopping, restarting and shutting down
When stopping mid-bead, do not simply lift off. Restart by overlapping the previous bead by a short distance with preheat applied, so the joint between the two runs is fused rather than butted.
At the end of a run, purge the barrel before shutting down. Polymer left to cook in a hot barrel degrades, and that degraded material goes into the first bead of the next run. Allow the machine to run its cool down cycle rather than pulling the plug, which shortens element life considerably.
Verify before you build on it
Make a trial bead on offcuts of the same material at the start of each session, cut coupons and pull them in a tensiometer. Check the failure mode: the coupon should tear in the parent sheet, not lift the bead off. Production welds made before that check are welds you may have to redo.
The five errors that cause most failures
Wrong rod resin. Insufficient preheat. Surface not ground or ground days earlier. Travelling faster than the output supports. Degraded material from an unpurged barrel. Everything else is a distant sixth.
Frequently asked questions
How long does it take to learn extrusion welding?
A competent plastic welder can produce acceptable beads within days and consistent, test-passing work in a few weeks of regular practice. The technique is not difficult, but consistency across a full shift, in heat, in awkward positions, is what takes time. This is why crews put experienced people on detail work and why trial coupons matter regardless of who is welding.
Do I need to grind the surface before extrusion welding?
Yes, and most specifications require it. Polyethylene oxidises at the surface, and that oxidised skin does not fuse well. Grind lightly to expose fresh material, remove all dust, and weld the same day. Grinding too deep is its own problem, because it thins the sheet where the joint needs strength.
It belongs with the rest of the welding plant we supply to lining contractors.